- Get Started
- Learning
- Products
- Blog
- Beginner
For first time users of chipKIT modules. - Intermediate
For users who have a moderate exposure with chipKIT modules. - Advanced
For users who are experts with chipKIT modules. - Developers
- About Us
- Support
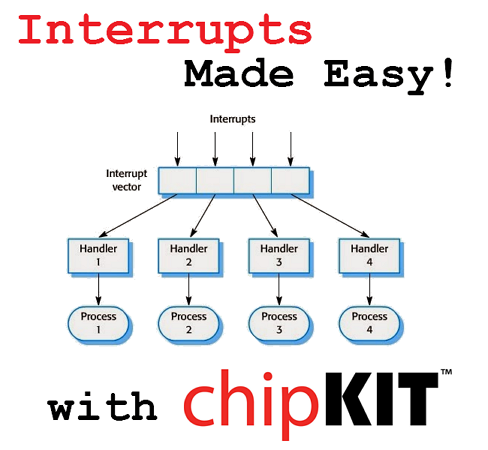
Interrupts Made Easy with chipKIT
Posted 2016-02-09 15:56:43 by Majenko
chipKIT lovers rejoice! Incorporating peripheral interrupts into your sketch has never been easier. In a previous post, we discussed how you can schedule operations to run periodically in your sketch by using the Task Manager, but for certain applications (such as audio sampling) you need more exact timing than the Task Manager can provide. In such cases, you can use hardware interrupts.
Today's post shows how you can use the built-in ease-of-use of the
chipKIT core libraries to use peripheral interrupts in your projects.
Below is a sketch that demonstrates how to set up a simple timer
interrupt. It is designed to run on a chipKIT
DP32, but
it should work "as is" on any PIC32MX-based board. For chips running
faster than 40MHz (such as the chipKIT
Uno32 at
80MHz) you'll want to tweak the TICKS_PER_SECOND value.
The result of this sketch is the output on the Serial Terminal, which will show integer values incrementing by 8000 (approximately). Why approximately? Because it uses a software delay() function, and software delay loops are not good programming practice, as they are somewhat imprecise, and considered "blocking" (meaning they prevent other stuff from happening). However, do note that the hardware timer is exact. So this little program actually compares one form of timing to the other. In this case, the software delay loop is accurate to about (2/8000 * 100) = .02%, which isn't too bad.
For more details on how to use interrupts, check out Majenko Technologies' app note about Working with chipKIT Interrupts.
If you are a library developer, and you want a delve deeper into PIC32 Interrupts, please see the chipKIT PIC32 Interrupt Handling document by Keith Vogel at Digilent!
/* This value works for DP32, at 40 MHz */
#define TICKS_PER_SECOND 40000000

#define T3_ON 0x8000
#define T3_PS_1_1 0
#define T3_SOURCE_INT 0
volatile uint32_t counter = 0;

/* Define the Interrupt Service Routine (ISR) */
void __attribute__((interrupt)) myISR() {
  counter++;
  clearIntFlag(_TIMER_3_IRQ);
}

/* start_timer_3 */
void start_timer_3(uint32_t frequency) {
  uint32_t period;
  period = TICKS_PER_SECOND / frequency;
  T3CONCLR = T3_ON;         /* Turn the timer off */
  T3CON = T3_PS_1_1;        /* Set the prescaler  */
  TMR3 = 0;                 /* Clear the counter  */
  PR3 = period;             /* Set the period     */
  T3CONSET = T3_ON;         /* Turn the timer on  */
}

void setup() {
  start_timer_3(8000);  /* 8 kHz */
  setIntVector(_TIMER_3_VECTOR, myISR);
  setIntPriority(_TIMER_3_VECTOR, 4, 0);
  clearIntFlag(_TIMER_3_IRQ);
  setIntEnable(_TIMER_3_IRQ);
  Serial.begin(9600);
}

void loop() {
  while (counter < 160000) {
    delay(1000);
    Serial.print("Count is now: ");
    Serial.println(counter);
  }
  counter = 0;
}
